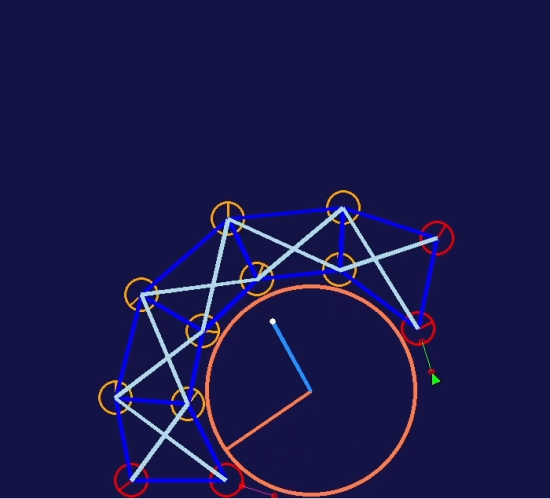
This sequence of topics reflects a J-term course given at Gustavus Adolphus College. Much of this content is demonstrated on the
Springs & Pucks
page using a live HTML5
Canvas. Here are links to the corresponding
video walkthrough
and the games:
puck popper,
monkey hunt, This was originally presented in a classroom with a mixture of lecture and lab; most of this had verbal explanation. The revision history has a discussion on the scope of the J-term course. It's posted here in support of any that wish to offer the course and for the curious out there who want to play with this on their own. It's a great way to gain useful coding experience and learn the Python language. This tutorial emphasizes the following:
Each topic below has the following:
Finally, some thanks directed at sites that sparked this one:
|
|
| First steps | |
|
Installation of the Working Environment: From a web browser, download a copy of the github repository for these python files. Look for the green "code" button, click it and use the "Download ZIP" option. Code repository: https://github.com/m-jim-d/pet-code Many of these scripts will run if you have Python and Pygame installed. If you have Pygame, you can test by running one of the scripts from the repository. Change to the directory where the files are unzipped and type: To run all the scripts, including A06, A07, and A16, you'll need to install Conda. Conda is a package manager for Python. Download the Miniconda installer here: https://www.anaconda.com/download/success#miniconda (Another option is to run a silent installer.)Their page on this: https://docs.anaconda.com/miniconda/install/ Run the following commands from a command prompt, one by one: Now, after installing Miniconda, create and activate a new conda environment:
You must use the "Anaconda Prompt." Find this in the Windows start menu, in the alphabetical list, under Anaconda.
Run these commands, one by one. If you have any issues with pygame, try pygame-ce, available via pip. To test the pybox2d installation, type: To test the pygame-pgu installation, type: If you installed pybox2d (on Windows), to test the pybox2d framework (in a subdirectory of the repository), type:
A modified version of pybox2d
exposes the velocity threshold parameter (
The files A16c_2D_B2D_serverN.py, A15_environment.py, and A15_air_table.py work with both
the original and modified pybox2d.
To switch, uninstall the original and install a wheel from the modified version.
The example wheel-installation command below is for Windows with Python 3.11; macOS and Linux wheels
are also available in the release.
|
|
|
Window's Command Window (cmd) and the
Notepad++ Editor: This pdf is a small collection of useful Windows and Notepad++ tips for the beginner and/or those new to Windows. Written in 2015 (updated in 2025), it's still a useful start. Years later, there are many new options for editing Python. Most of my 2025 revisions to this site,
Python and HTML, were done in the
Windsurf
editor, AI assisted by Claude. Installation on Linux and the Raspberry
Pi: This page describes my adventures with the RPi: python-physics engines (of course) and a few words on setting up a music server. You'll find details on the Linux installation of the working environment. There's a video that shows the surprisingly good performance of these scripts on the RPi-2. If you watch it to the end, you'll see my wife getting the best of me in Puck Popper. This page also has a good summary of the keyboard and mouse controls that are used in most of the scripts. |
|
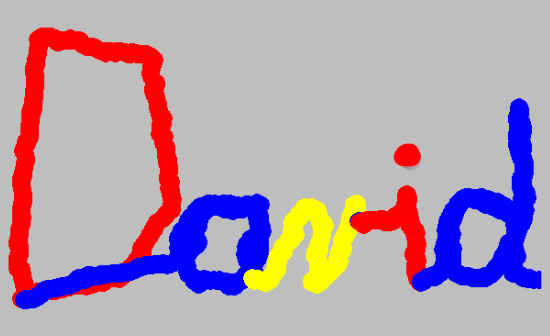
This first assignment illustrates the display window and event-handling features that are used from Pygame. Drawing, erasing, and screen updating are viewed in the Pygame window. Keyboard and mouse events are interpreted and used to control the drawing algorithms. A game loop keeps repeating the process: erase, draw, update the screen. Holding down the "e" key enables screen erasing every time through the game loop. Holding down the "f" inhibits the flip operation that is use to update the screen at the end of the game loop. The two mouse buttons are used to change the color of the circle. The video starts with the erase feature. With erasing enabled, the ball seems animated (the drawing tail does not persist). Later the flip (screen update) operation is inhibited (these are drawn in memory but not to the screen). Finally a combination of erasing and flip inhibiting cause the ball to lag behind and then catch up to the cursor. |
|
| 1D | |
A Pure-Python Physics Engine
This first look at a 1D-physics engine does so without any rendering
in the Pygame display window. Instead, this outputs to a simple text string that is
printed to the command line. The #1 version is fully functional
with only one page of Python code. The #2 version can be executed
with command-line parameters and facilitates running the various
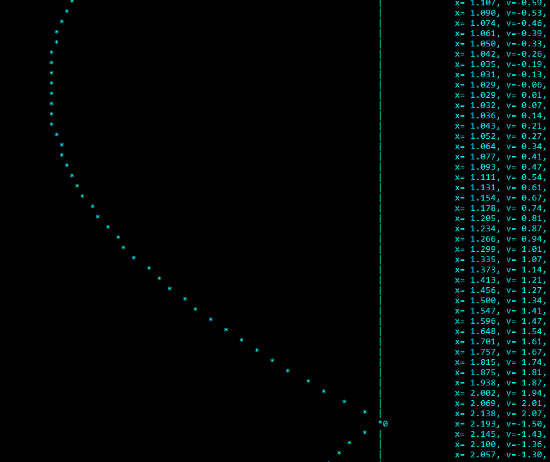
examples in the video. The video is best viewed in full-screen mode so that the preliminary text, before each example run, can be read. Near the beginning of the video, an annotation block is used to help the viewer direct (and keep) his gaze on the first row of output. This first row yields the intended animation effect: move, draw, erase, repeat. There is an animated-gif capture of the "first row" displayed at the top of the code discussion page. This rendering approach has the added advantage of preserving the frame history. As the viewer looks up to higher rows on the screen he is looking back in time, frame by frame (row by row). This can help in visualizing and understanding wall collisions and the associated position corrections that are made. |
|
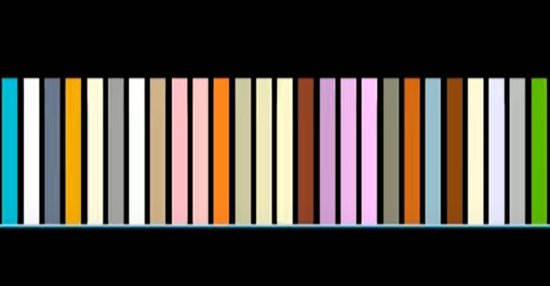
1D-Physics Engine Framework The 1D framework introduces the relationship between the screen and the physics world. It also brings in the first taste of Euler's method in animating the motion. There are no car-wall or car-car collisions here; no gravity. Cars just pass through each other (and walls) and no acceleration from gravity. OOP classes are used here to organize the code and prepare for the object nature of the games to follow. The video shows five short demos (press keyboard numbers 1 through 5). The first two are two-car animations. The last three show stacks of cars spreading out due to the differences in their velocities. The car in the middle of the stack has zero velocity. At any point in time, the relative velocity of any pair of cars is proportional to the separation distance between them (kind of like Hubble's law). |
|
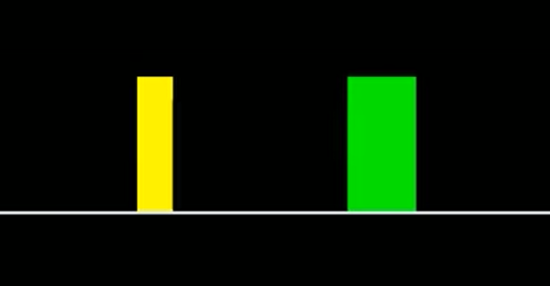
Wall Collisions, Gravity, and Stickiness Euler's method comes to life here. Velocities are changing under the accelerating influence of gravity. There is a drawing in the PDF that illustrates the idea of penetration/stickiness correction. (Note that the drawings in the PDFs display with varying quality depending on the browser; Chrome: great, IE: OK, Firefox: not so hot.) For now, we'll just do the stickiness correction; later there will be several video demos of this issue. A coefficient of restitution is used to model the energy loss in the wall collisions. Notice the apparent settling of the cars at the end of the video. (Note: You can watch in full-screen mode using the YouTube controls in the lower right corner of each video. Esc to get back to this page.) |
|
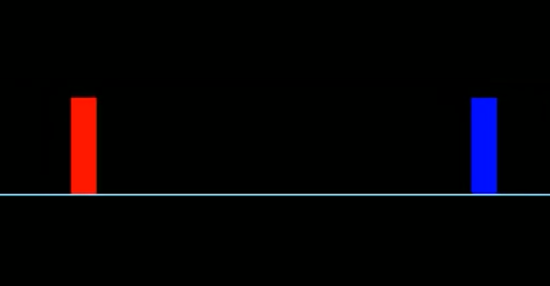
Car-Car Collisions and Stickiness Car-car collision physics and car-car stickiness correction are
added here. This script uses the "c" and the "s" keys to toggle
two algorithmic features that help to illustrate the collisions
and stickiness. The "c" key toggles the "color-transfer" feature
which, when enabled, causes the colors of two colliding cars to
swap. So when two cars start to settle near a wall under the influence
of gravity, they collide frequently and the colors will swap quickly
to show the cars are still colliding. If this feature is off the
cars will appear to settle, but the cars really don't settle in
our basic physic engine! (Later with Box2D we will show true settling.)
The "s" toggles the stickiness correction on and off. So if you
turn off the correction, the cars will be pulled into each other
as they settle. Hit the "s" key again and they will unstick with
a little pop. A combination of the "c" and "s" key is used at the
tail end of the video. Sorry, this one runs a little long (kind
of like watching paint dry). |
|

The user gets to interact with the objects on the screen. Cursor spring and drag forces are calculated based on the separation distance between the cursor and the selected car (and the velocity of the car). Cars are selected by clicking on the car or holding down the mouse button and letting the car run over the cursor. Cursors attach at the center of the car. Each mouse button invokes a different cursor tether (with a different spring constant and car drag coefficient). The left mouse button is medium, the right mouse button is stiff, and the center (roller) button has the softest spring. The video closes with me trying to pull the car into the wall. The color transfer ("c") is turned on so the frequent collisions are illustrated. Note you can again turn off the stickiness correction here ("s") and pull the cars into the wall; then toggle it off and watch them pop out (not so much "paint drying" here since you can pull them in pretty quickly, especially with the stiffer of the three cursor tethers). |
|
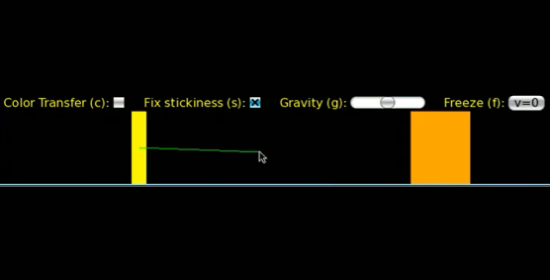
Gui here, not just sticky (ha ha). Controls have been added for stickiness and color-transfer toggles as well as a gravity slider (for simulating that bad cruise-liner experience) and a button to freeze the cars. If gravity is set to zero, a freeze operation will stop the cars and they will stay that way until... |
|
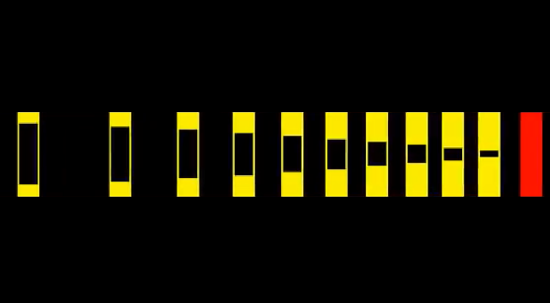
Hollow Cars and Demos Car mass is visualized here by hollowing out the lighter cars. The video shows 10 of the 13 demos. The demo number is indicated in the window title (upper part of the Pygame window frame). Demo #4 shows the inelastic collisions between a set of cars where the total momentum of the set is zero before and after the collision (a reverse explosion). Most of the other demos make use of the color-transfer feature to highlight the transfer of momentum through cars (like Newton's cradle). A description of each demo is in the PDF. |
|
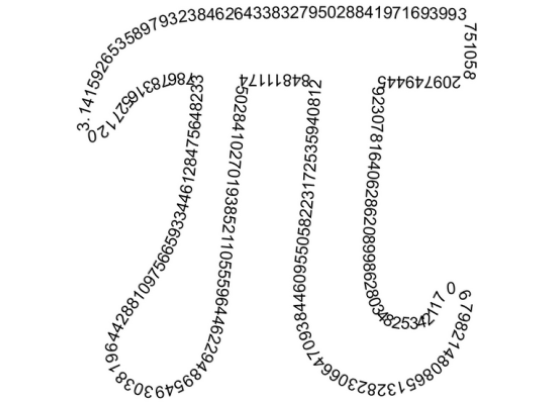
Counting to pi This counting method, documented in Galperin's 2003 paper, is beautifully described in this 3Blue1Brown video. Our 1D engine is modified here to facilitate the counting of the elastic collisions in this method. A mass ratio of 100 to the 4th power is used in the video here (surface area ratio of 100, density ratio of 100^3) and yields the first 5 digits of pi. Play this video fullscreen to see the blue counter on the far right. Or try this interactive 2-digit version using Box2D. A secondary loop runs the physics calculations 1000 times per rendering frame. The collision sound (the clack) plays at most once per frame. Alternating collisions (block-block, then block-wall) are enforced in the code and the large block is not allowed to collide with the walls. This is an addition to the code of the "Hollow Cars and Demos" topic above. Just scrape the code from there if you'd like to try this. To run it press the 4 key on a number pad or use shift and the 4 key on the main keyboard. You'll need the clack_long.wav file in the same directory as your python file. To try different mass ratios, edit the parameters in the 4p block of the make_some_cars method. |
|
| Multiplayer | |
Server (host) and Clients
The video shows the server window and one client's game-pad window (also running on the server's computer). Another client (running on a networked laptop) is connected but not visible in the video. The state (U:up or D:down) of the a-s-d-w keys of each client are also rendered on the server screen. The last 200 mouse locations (when mouse button is down) are drawn each game loop. This causes the dynamic tails effect. One Friday we ran this server on the computer that hosts the projector in the lecture room. Many students connected using the client. For a while we tried this with no verbal communication. It was interesting to see how cooperative this became in spite of the silence. Please note that this particular client script works only for this demo. The network module developed here is used (required) by all the server and client scripts. The multiplayer techniques introduced here are applied in the 2D-Physics Engine Framework topic below. |
|
| 2D | |
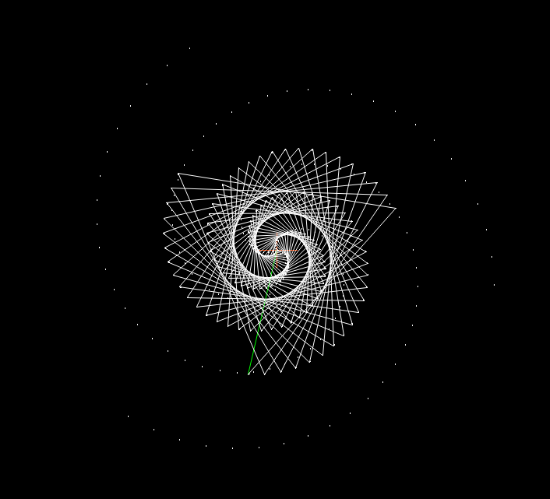
The Vector Class Module This vector class is used in all the 2D assignments that follow. The test code illustrates most of the features that will be used. The video shows a vector sandbox that is based on the vector class. There are seven demos that are run (start these using the number keys above the letters on the keyboard). Each demo uses a set of vectors ranging in set size from 2 to 140. Vectors can be selected with the mouse (click and drag over the arrow head). Components of selected vectors can be displayed ("c" key toggles this on/off). Components include x, y, unit normal (red), unit perpendicular (red), and the projection of the selected vector onto a second vector. Vector rotation can be toggled on/off with the "f" key. The "a" key toggles the display of the add vector (grand total), which is shown in green. In "add" mode each vector in the sum series is rendered head to tail. The "t" key toggles on/off the display of a tail drawn from the head of the total vector. The tail is represented with a 350 point FIFO list of the most recent points. The tail can be shown as points or lines (toggle back and forth with the "l" key). Zoom in/out with the "h" and "n" keys. |
|
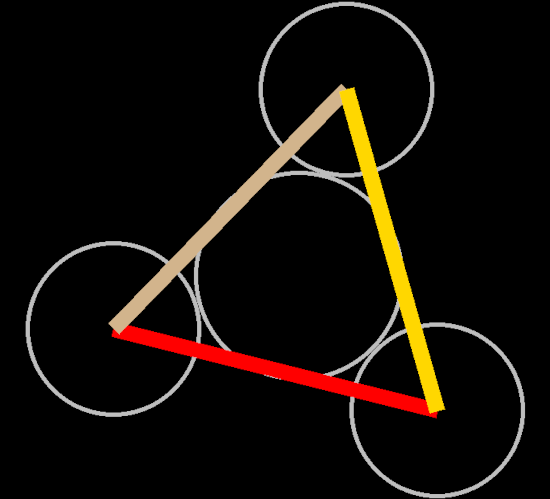
2D-Physics Engine Framework This assignment merges the 1D engine with the 2D vector class and the multiplayer module. The spring class is also introduced here. The drawings in the PDF help explain 2D collisions, stickiness corrections, and the client-server relationship. The number keys start the ten demos (0-9). The left/right arrow keys select the variations of each demo. For example, in demo #0, each variation starts with a different number of pucks (4 to 2000). The video shows two cursors, one from the local client (the host computer) and the other from a network client (Raspberry Pi). Left and right hands are working the two cursors. It's surprisingly natural (we've got two hands). The client script used here is also used with the following assignments. The non-colliding pucks in demo #0 (03:02) do not interact with each other, but do bounce off the walls. The "shift-e" keys toggle the frame eraser, helping to show the path of the pucks. The "g" key toggles gravity on/off. The "f" key momentarily freezes the pucks. One section of the video (at 6:26) shows the cursors pulling two pucks together and watching the transition from stable to unstable. Then (at 6:52), stickiness behavior is toggled on/off with ctrl-shift-p; the black background turns grey when the stickiness corrections are off. |
|
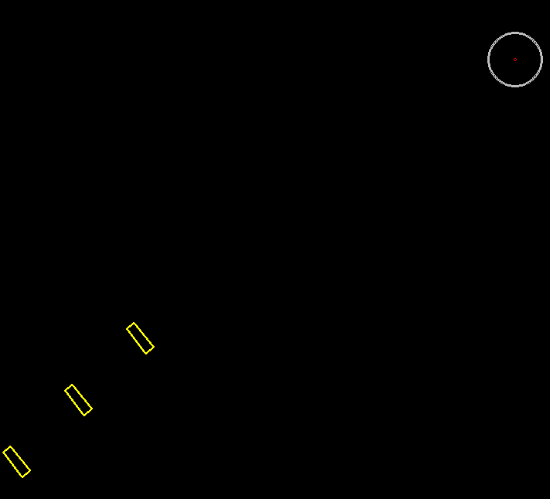
Rotating Tubes This introduces the concepts behind polygon rotation as facilitated by the rotation methods in the vector class. This tube class will be the base class for representing both jet and turret tubes. Rotate the tubes using the "a" and "d" keys. The A11_m files in this section are incremental relative to the A10_m files in the previous section. In a similar way, the files in the next three sections (A12_m, A13_m, and A14_m), will build on files used in prior sections. This makes use of Python's features for inheritance and importing module files. This incremental approach is intended to highlight the new features as they are added: tubes, then jets, then guns. |
|
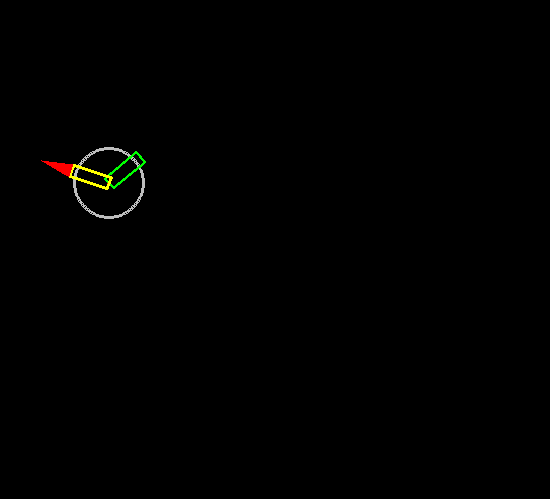
Rotating Tubes and Jets on Client Puck A raw tube and a jet tube are associated with a client-controlled puck. The association causes the tubes to move with (are drawn relative to the center of mass of) the pucks. A new three-point red polygon is used to represent the jet's exhaust flame. The video shows the local client and a network client controlling (rotating) tubes on the two pucks. Python inheritance is introduced in this exercise: jet-tube is derived from the tube base class. Rotate the jet tube using the "a" and "d" keys. Display the jet flame with the "w" key. |
|
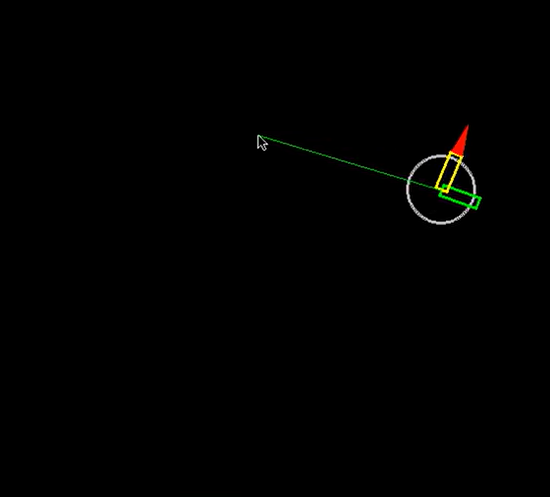
Jet Forces A thrust force is added to coincide with the jet's flame. This brings the total to four forces that are being processed in the physics engine: gravity, cursor-tether tension, spring-damper, and now jet force. The "w" key turns on the jet forces that are applied to the host puck along the direction of the jet-tube axis. This jet-force vector is added to the puck_forces_2d_N (net-force-on-puck) vector and processed in the Euler's method calculations. Rotate the jet tube using the "a" and "d" keys. Apply the jet-thrust force with the "w" key. The video show a cursor tether restraining a puck under continuously applied jet forces while the jet tube is turned at a constant rate. |
|
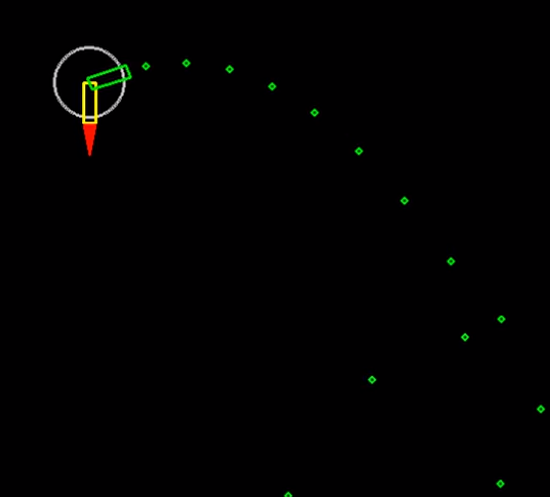
Gun and Impulse Forces The physics of gun recoil is modeled with an impulse force. Each bullet firing causes an opposing impulse force to be delivered to the gun. The magnitude of this force is equal to the change in momentum of the bullet divided by the duration of the firing interval (one step in time by the physics calculations in the game loop). Bullet clean-up is implemented by assigning a birth time to each fired bullet. Bullet objects older than 3 seconds are deleted. Rotate the gun tube using the "j" and "l" keys. Shoot the gun with the "i" key. |
|
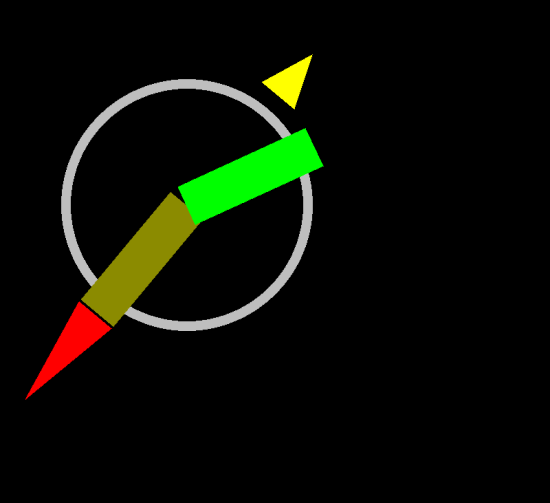
Final Game Features This assignment adds features to make a playable game:
The video shows me playing Puck Popper solo. The drones don't have shields and move only in recoil to shooting. They randomly target other pucks. You'll see shields, health circles, and the popping pucks. This is a new baseline for the modular script files. From here, the server files will correspond with one of the three physics engines: circular (A15a), perfect-kiss (A15c), and box2d (A16c). The demos in these server files will highlight the features of their engine. |
|
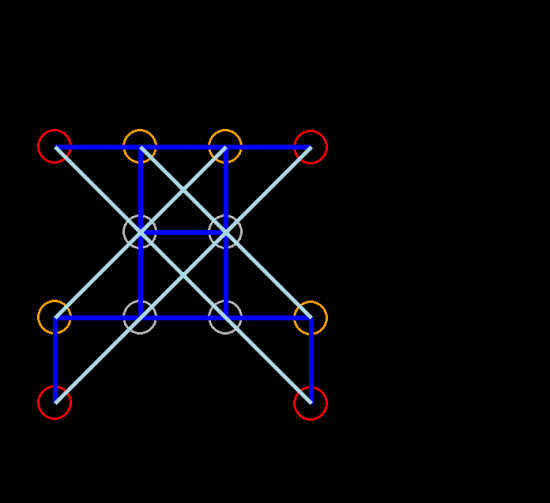
The Jello Matrix
You may have noticed in demo #8 that if you tangle the jello (pucks have sustained contact), the tangle timer runs. This feature of the jello simulation has been used to make a game (referred to in the J-term class as Jello Madness). The first step in the game is to tangle the jello for your opponent then press the "p" key to freeze the physics engine. When your opponent is ready to try and detangle the jello, they press the "p" key again. That resets and starts the timer and physics engine. When the jello is detangled (no puck collisions), the timer will stop. Low score (time) wins. Players take turns. Here are two tips for tangling and detangling: The "f" key momentarily sets the speed of each puck to zero, stopping the jello. The right mouse button enlists a very firm cursor spring for grabbing pucks in the jello. I play one solo round of the 4x3 version of Jello Madness (the name used in the J-term course). A big part of the game is to really make a mess of it for the other guy. The jello simulation requires an I5 processor or better; it will become unstable on slower machines. The Box2D engine (the A16c script in the section below) offers somewhat more stability in the Jello simulations. This is further enhanced if using equal interval time steps (shift-p). |
|
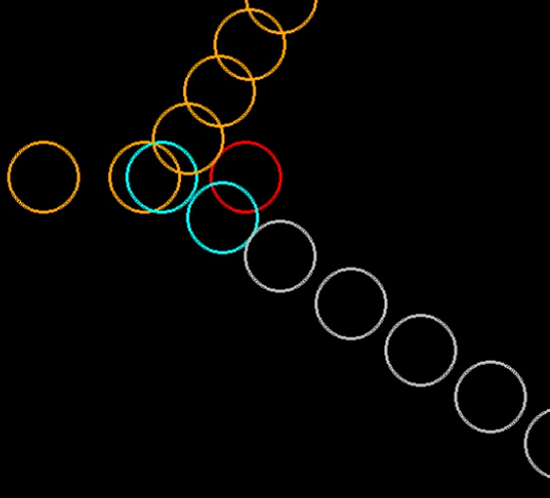
Perfect Kiss The perfect-kiss algorithm is a refinement to the overlap-correction calculations described in the 2D-Physics Engine Framework assignment. This refinement offers true contact-normal calculations and corresponding ideal modeling of 2D puck collisions. The video is annotated to show three categories of puck collisions: (1) raw (no overlap correction), (2) overlap correction using the approximate-contact normal, and (3) overlap correction using the idea-contact normal. The speed of the incoming puck is chosen to produce large overlaps and its initial position is randomized to show a variety of responses. The third category of runs shows a consistent collision prediction that is independent of the amount of overlap at the collision detection point. To illustrate the correction process, two intermediate steps are drawn with special colors: Both overlapping pucks are drawn in red; Both kissing pucks are drawn in cyan. The final corrected position is drawn in normal puck colors. There are cases where some of the intermediate puck images are not visible because they lie directly underneath a subsequent drawing. |
|

Playing Catch with Perfect Kiss The ideal collisions of the previous topic support reversibility in our 2D framework. This means an ordered set of pucks can be disordered through a series of collisions and then returned to order by reversing the direction of the time step or by reversing the velocity of each of the pucks. This produces a very counterintuitive result, like watching a scrambled egg return to the shell by playing a video in reverse, decreasing entropy. The video shows each of the first four demos running in perfect-kiss mode (background turns from black to gray), flinging a puck to disorder the set, waiting for disorder, then pressing the "r" key to reverse all the puck velocities. The collision counter (upper left) will start counting in the reverse direction at this point. As the counter approaches zero, order returns and flings the ball back where it is caught with the mouse. Watch fullscreen to better see the output from the command line. Keyboard commands for playing with reversibility:
"z" enables the Perfect Kiss algorithm. This
also sets each puck to be elastic, coefficient of restitution is 1.0.
|
|
| Box2D | |
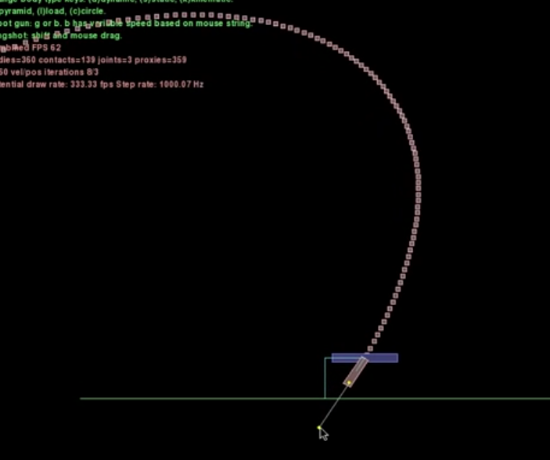
Pybox2d Framework Example This script is based on the test_BodyTypes.py file in the examples directory of the pybox2d distribution. This depends on the Pygame framework in that distribution so all the framework files must be in the same directory as this file. (This script works best if you run it in the pybox2d_framework_P3 folder of the repository files.) This file has been modified to support bullet shooting. (I looked through their examples for one that had some hinged object that would work for aiming the projectile stream.) The main adders here are: (1) bullet aiming and firing, (2) masking of objects (bullets pass through the gun base without a collision), (3) age limits on the bullets so they clean up after themselves (the simulation would labor if the collection of bullets kept growing), (4) the cursor gun, (5) something interesting to shoot at (target generation): pyramids, circles, and squares. |
|
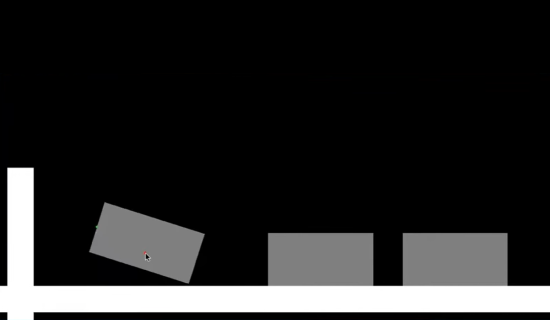
Pybox2d Without the Framework This script is based on the simple_01.py example in the pybox2d example directory. Unlike the example above, this one does not depend on the framework files, so it will run anywhere. I've extracted mouse-joint and zooming features as well as some basic polygon rendering facilitated by Pygame. This demonstrates the body-transform overload operation on a vertex of a polygon (to get its physics-world coordinates). There are also two force points defined on one of the cars (keyboard controlled). The video shows an air-track type environment, except of course this is 2D and the cars are allowed to behave very badly and can end up off the track. Cars can be dragged with the mouse. Zoom the view with the mouse wheel; pan the view with the right mouse button. Control the two force points with the "f" and "g" keys. When a force is applied at a force point, the point lights up green. (View in full-screen mode at 480p to see the force points.) |
|

Using Pybox2d in the Air Table
This brings the Box2D physics engine into our 2D air-table framework. It's like taking the engine out of a Honda Civic and replacing it with a 426 Hemi. This opens the door to non-spherical object collisions, object rotation, torque (and rotational drag), surface friction, and true settling behaviors. The AirTable class defines a force-point interface to the Box2D (pybox2d) engine. All the force generating objects, such as springs and cursor-tethers, communicate (apply) their forces to the pucks in the Box2D world. Box2D takes care of collisions and motion and informs our rendering functionality as to the state/position of the pucks. A few notes on the keyboard interface:
A few notes on the network client and the second cursor:In most of this video, there's an active network client (a Raspberry Pi running A10_2D_baseline_client.py). The network client's light maroon cursor is controlled left-handed with the RPi's mouse and displayed on the host computer's screen. The host controls the green cursor (on the server, running A16c_2D_B2D_serverN.py). In the Puck Popper segments (demo #7) the client is disconnected (its pygame window closed); the host is playing solo. However, you can play with multiple players. Each player (network clients and the host) will see their controllable puck rendered on the host at the start of the game.Many of the features of this final topic are demonstrated on the Springs & Pucks page using a live HTML-5 Canvas. |
|
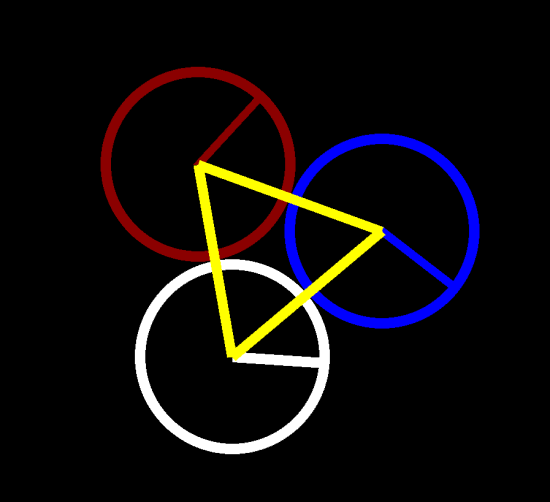
Total angular momentum is conserved in these inelastic collisions of pucks with surface friction. Pucks are pulled into contact with springs (an internal force). The transfer of angular momentum from rotational to orbital form is perfectly accounted for by Box2D. The results, final states, correspond to expectations as predicted by conservation laws. The video tells the story. |
|
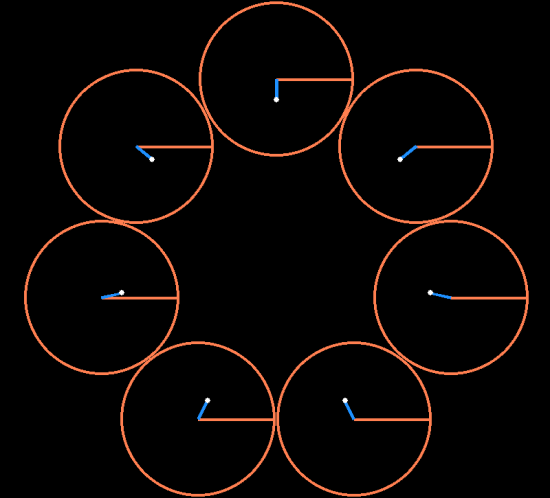
If there's any doubt that groups with odd numbers can't roll, this may be convincing. Note the first approach for starting the rotations in variation #9. The puck is dragged between two neighbors. |
|
| Let's play | |
|
The Tournament There were many impressive entries by the students... |